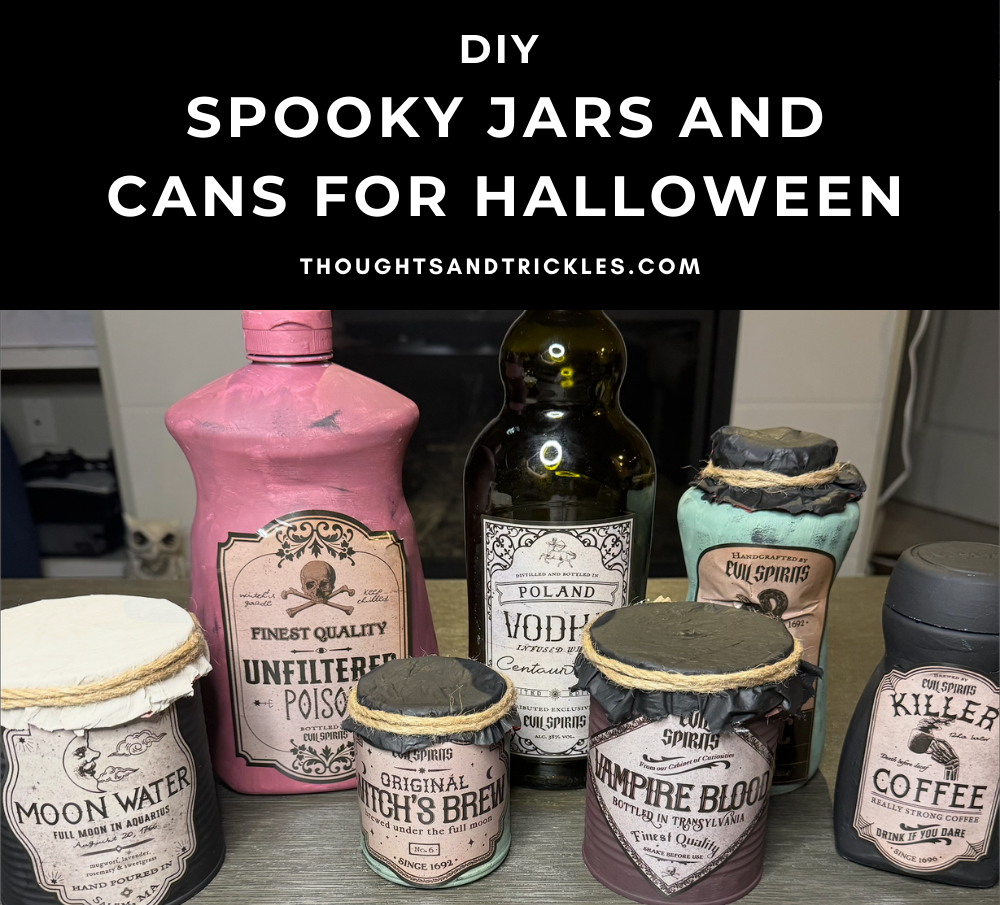
I try to throw a halloween party every year. This halloween, I didn’t love was I was seeing for decorations at stores and also didn’t want to spend too much. I saw some labels online and decided to buy them to attach to some jars. Here are the steps I followed. I was pretty impressed by the final product since I’m not the most artistic person.
1. Collect jars and cans

Wash the jars and cans you collected with dish soap and water. I found it easier to peel of the labels when they were wet.
2. Gather some paint and brushes

I had some paint and brushes laying around from before. I only had the prime colours and mixed these together to create purple, green, and brown. If you don’t have any paint and brushes you’ll have to buy some. I got mine from the dollar store previously.
3. Paint each jar and can to your liking

I chose to paint my jars and cans purples, green, brown and black. Once painted leave them out to dry.
4. Attach labels once paint is dry


Once the jars and cans are dry attach your labels to them. I found the labels didn’t stick on very well and started peeling off after a while. I used some gorilla glue to keep the labels from peeling off.
5. Missing lids can be replaced with tissue paper and rope

I didn’t have any lids for the cans and for a couple jars. I didn’t have any black or white tissue paper laying around. I did have some red tissue paper that I painted black and white. It’s probably easier if you have black or white tissue paper. Then you don’t have to wait for the paint on the napkins to dry.
I also had some old twine rope from before. I used this to tie on the paper napkins to the jars and cans that didn’t have any lids.
